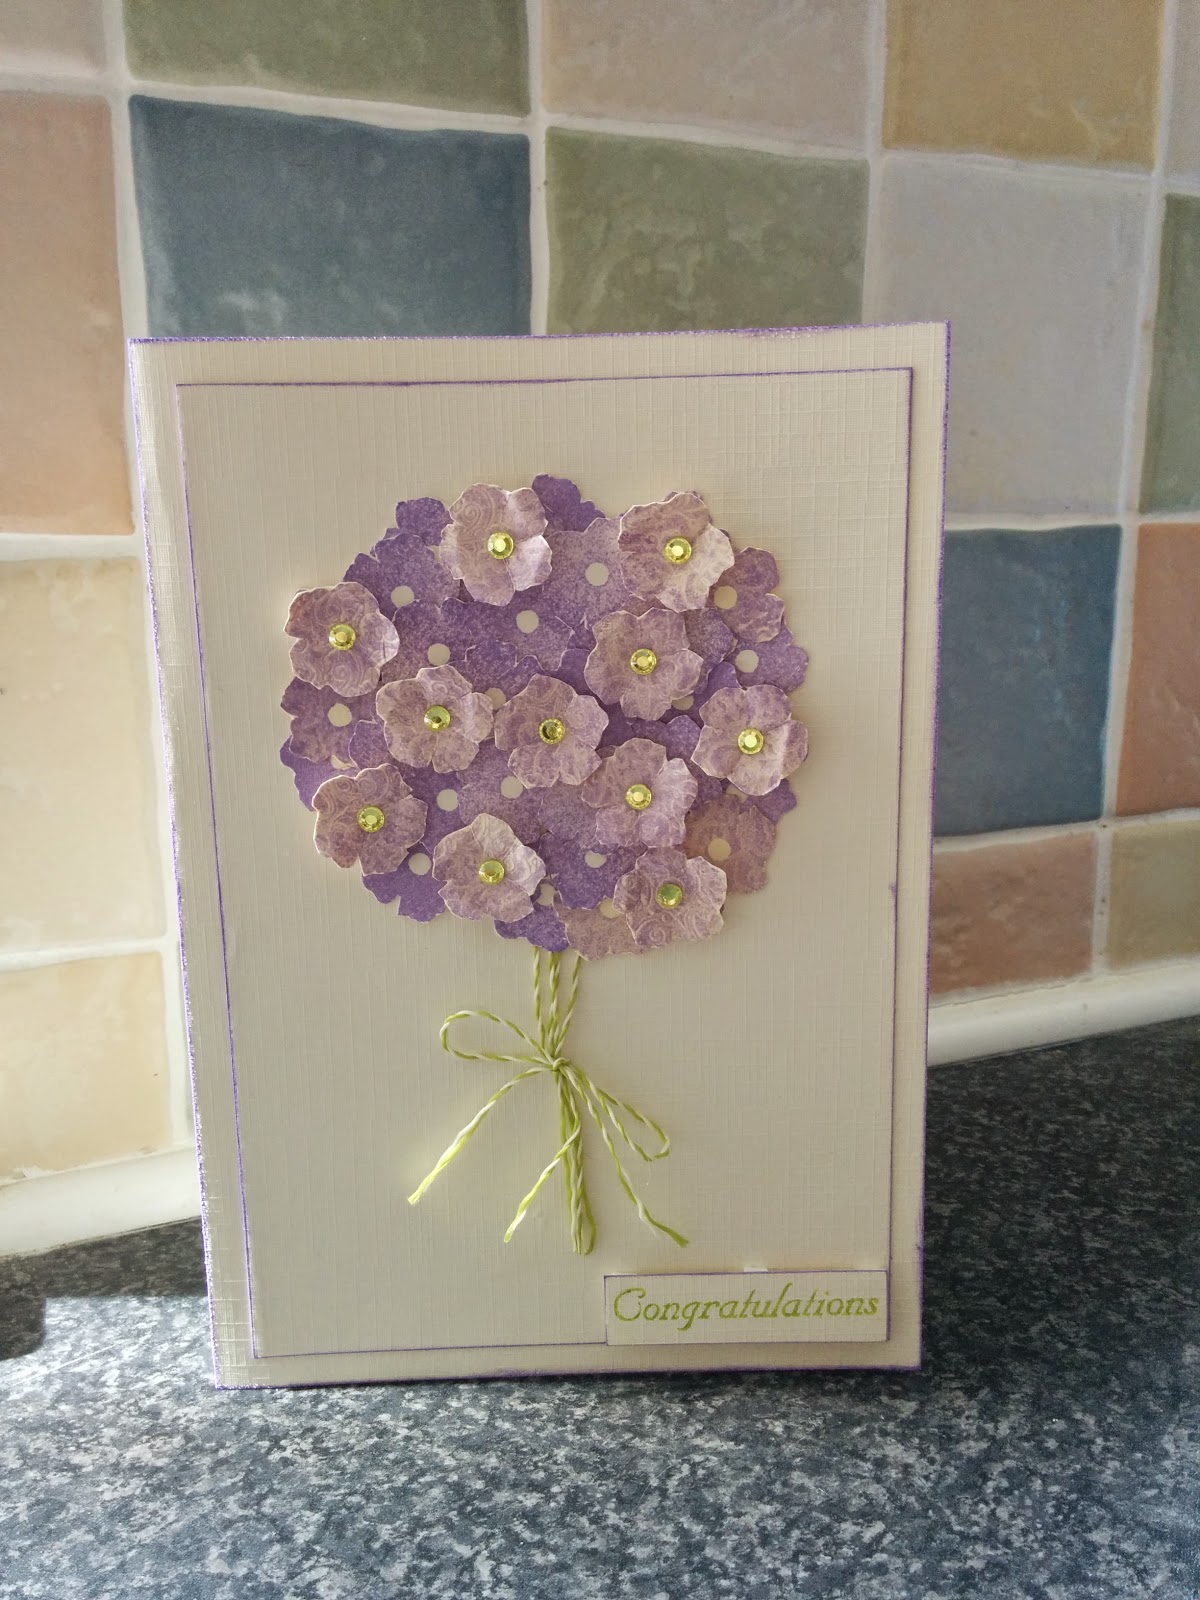
I've seen several cards recently (mostly on Pinterest - not that I am obsessed with it in any way, shape or form!) using a bouquet of flowers as the focal point to the card, whilst I like what I have seen I am not generally one who will stick to designs she has seen before, I wanted to make mine slightly different. I took the inspiration for this card from the lovely hydrangea, it is fast becoming one of my favourite flowers :) This congratulations card was made for a friend who has recently passed their LPC exam and obtained a training contract to pursue her legal career, as many of my university cohorts (I graduated with a 2:1 in Law last July) are in the process of doing (strangely enough this wasn't for a friend from Uni, rather a mutual friend of Tom and I).
The Finished Card
My legally logically mind isn't as logical when I am being creative, sometimes I will create my base card first as would be logical but sometimes I do not, with this card I actually went straight into stamping my flowers (I didn't know what sort of card shape or size I wanted until I had a play around with my flowers first). The majority of the flowers are stamped in plain colour (Orchid ink from Oakhouse Studio), then there are a few where I had a play with a technique I had read about and decided to look up on youtube (my go to place - I don't like reading instructions!) - Kiss stamping. To use this technique you first ink up a plain palette stamp (i used the same flower as my base flowers - from the Spring Blooms set by Oakhouse studio), you then use a patterned stamp (I used the Oakhouse Studio medium Walesby heart) with no ink on it and press it into your palette stamp, removing it smoothly to leave you with a patterned palette stamp, stamping this will produce a kiss stamped image. Ensure that you remove all traces of ink from your patterned stamp between impressions, as this could leave you with an imperfect impression on the next image. Once I had enough flowers to create my bouquet I cut out all of my flowers and played around with their arrangement until I was happy with it.
Before I could stick my flowers to a base card, I had to create that base card! This card is made out of an A4 piece of cream linen cardstock, I then used my Orchid ink to ink around the edge before heat embossing it using clear embossing powder (I also did this to the secondary piece of card that I decided to mount to the base card). Initially I had decided to colour my own floss but on a visit to my parents I found that my mum had the perfect floss for my design, pre-coloured so I decided to not fuss with colouring my own (usually though I do like to, it is another thrifty technique for saving money to spend on other things!). The floss was attached to the card by using a piece of double sided sticky paper, starting in the middle of my bouquet. I then arranged my flowers and stuck them down, lifting a few with double sided foam pads for dimension. My card was completed with 3 touches - tying a bow around my 'stems', sticking lime green gems to co-ordinate with the stems to the centre of the raised flowers and finally by stamping Congratulations in Spring Green (Oakhouse Studio) on a separate piece of card and mounting it with 3D foam in the lower right hand corner.
Before I could stick my flowers to a base card, I had to create that base card! This card is made out of an A4 piece of cream linen cardstock, I then used my Orchid ink to ink around the edge before heat embossing it using clear embossing powder (I also did this to the secondary piece of card that I decided to mount to the base card). Initially I had decided to colour my own floss but on a visit to my parents I found that my mum had the perfect floss for my design, pre-coloured so I decided to not fuss with colouring my own (usually though I do like to, it is another thrifty technique for saving money to spend on other things!). The floss was attached to the card by using a piece of double sided sticky paper, starting in the middle of my bouquet. I then arranged my flowers and stuck them down, lifting a few with double sided foam pads for dimension. My card was completed with 3 touches - tying a bow around my 'stems', sticking lime green gems to co-ordinate with the stems to the centre of the raised flowers and finally by stamping Congratulations in Spring Green (Oakhouse Studio) on a separate piece of card and mounting it with 3D foam in the lower right hand corner.
Closer look at the flowers (though sadly not the best photo for looking at the kiss stamping up close, and I can't take another as I have already given this card)
Thanks for reading,
- Rebecca


No comments:
Post a Comment