8 December 2014

November 'Winter' Challenge at Oakhouse Studio

Every month Lynnda of Oakhouse Studio (HERE) creates another challenge for the members of the Inkspired group on Facebook, the winner receives a voucher to spend on some of the lovely goodies in the shop :) and every month I try to do at least one entry (you can submit a maximum of 3 entries), here are my entries for the November challenge, the theme of which is Winter.

Entry 1:


This card took forever and a day, and there is not a single iota of exaggeration in saying that!!! The flowers and holly leaves are actually the Oakhouse Studio large christmas corner, stamped and embossed with their super fine detail gold embossing powder, coloured with distress inks (Barn Door and Pine Needles) before being very delicately cut out. I played with the arrangement of the flowers and the exact number of leaves for over an hour before I was finally satisfied. The finishing touch was to stamp in gold with a Woodware Merry Christmas sentiment in the centre of my wreath.

Entry 2:


I am slightly disappointed with how this card has photographed, it does not do the glittered snowflakes justice in any way, shape or form. I stamped, using a glue ink pad, various snowflakes from the Oakhouse Studio collection all over my card before adding a pinky blue tinged glitter to them all, that part turned out well (it is only my poor photography that lets this card down!). It was a couple of weeks before I decided how to finbish off this card (I'd had the inspiration for the background and had to make it straight away before loosing my crafty mojo entirely, at the wrong time of year for sure!). You may recognise these tress from the gift tags and price tags in my previous post, I had some spares made up laying on my desk and realised that this could be the way forward with this card. The middle tree has been trimmed (to be smaller than the other trees) so it appears to be further in the background. Finally I stamped Merry Christmas inside the card, in the same green as the trees.

Thanks for reading, sorry for slowing down with the frequency of posts, life is frantic, 2 and a half weeks until Christmas and still so much to do in the house :(

- Rebecca


1 December 2014

Christmas Arts, Crafts and Hobbies Exhibition

No November posts...ooops! I do have my reasons!  On Saturday I did my first ever Craft Fayre, the preparation for it was far more stressful than I had ever imagined! I'm going to fill this post with photos and go easy on the writing, so if you want further explanation of anything just let me know.

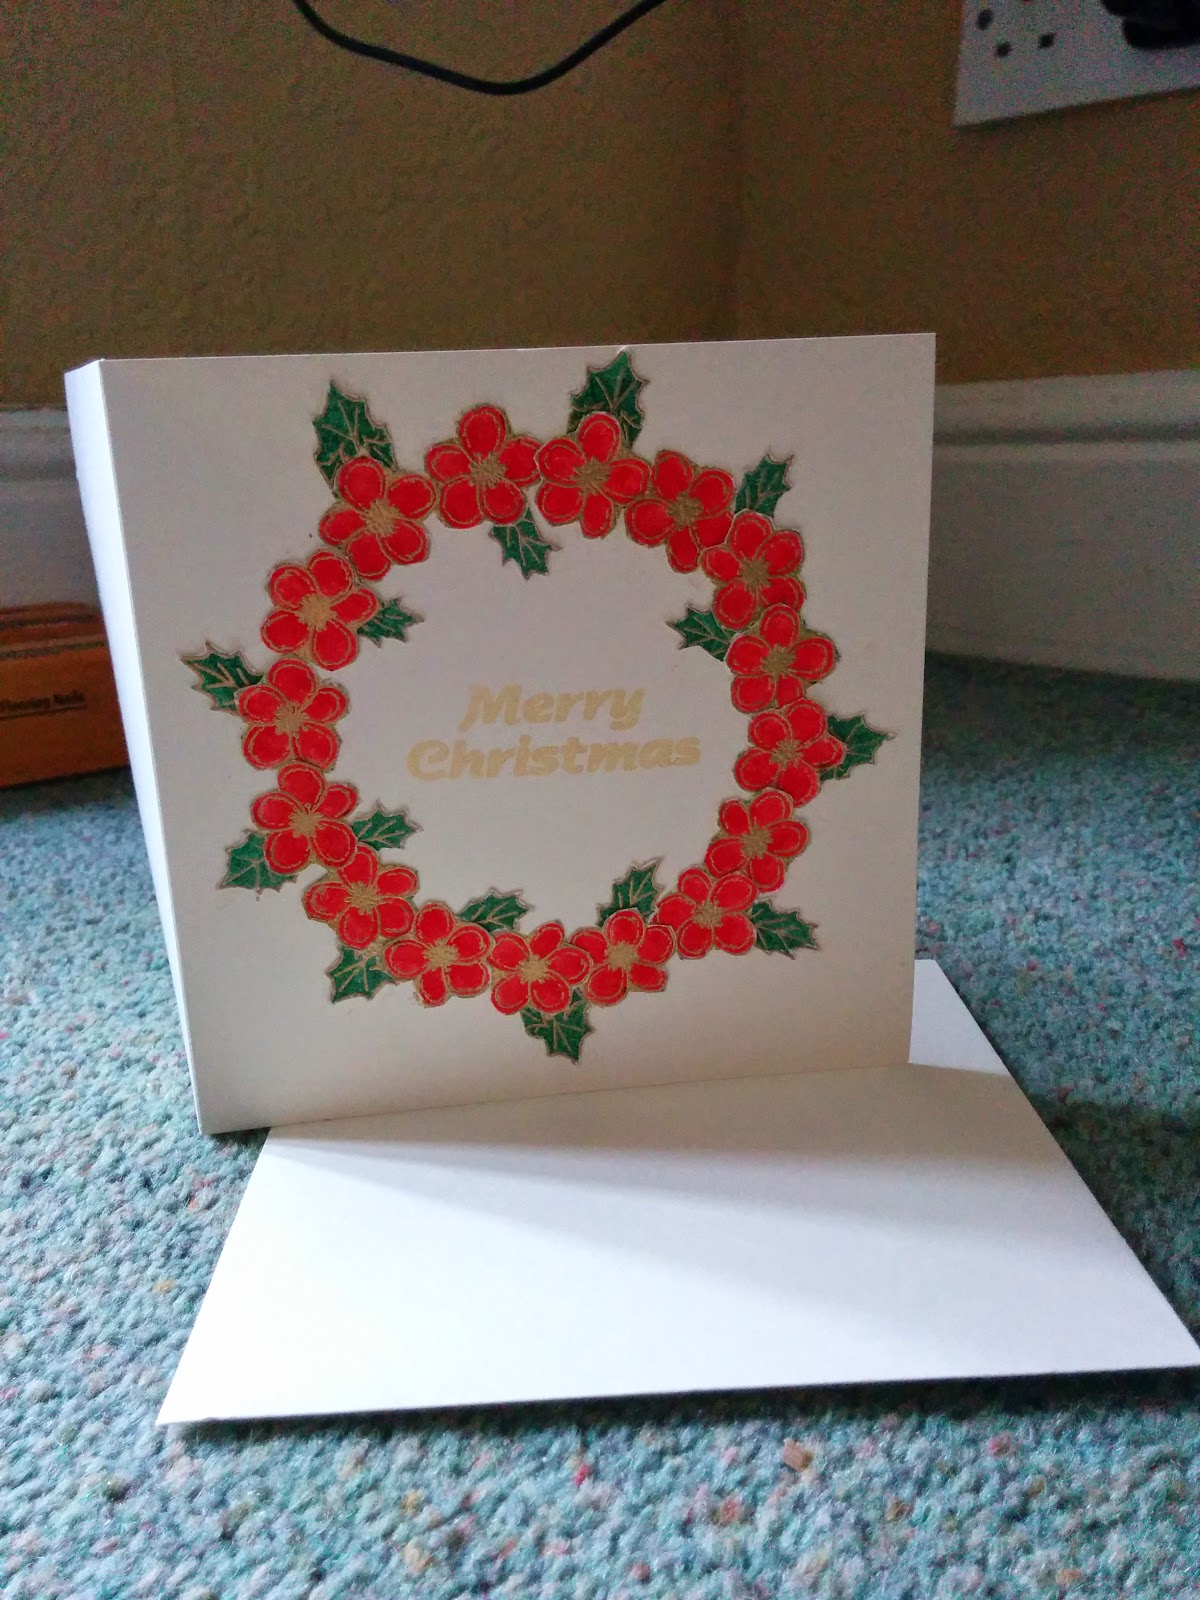
Cards (some with co-ordinating envelopes):
(All cards that I have not blogged already, some cards from previous posts were also for sale)


More Owl Cards!


Cards (and card boxes for those that would not fit in normal envelopes)

These cards were made using a pack of co-ordinating cards, envelopes and sentiments I found in the bottom of a drawer, further embellished with ribbon, flowers etc from my stash.


Random cards made from kits I had (with no instructions so making it up as I went along!) in addition to a few embellishments from my stash.


These Robin cards are my favourites so far this year, the stamp is a beautiful one by Little Claire (stamped twice) and I love their individually glittered hats!


An ink blended background with a slight difference (masking off the 'moon' and then colouring the whole card), in a night's sky design (Faded Jeans Distress Ink, Dusty Concord Distress Ink and Dusty Rose by OHS) with stars of self-adhesive gems and Father Christmas and his reindeers


This idea was lifted from the December 2014 issue of Papercraft inspirations and then adapted to suit the items I had in my stash, I went a little crazy with the origami trees whilst watching television and consequently have plenty for more cards, gift tags etc (they may even make an appearance next year!)


Frames:

I don't feel the need to explain how these 'pictures' were produced as I have blogged about them previously, however if you would like an explanation please leave a comment and I will get back to you and also update this post to include my method.


Work in progress


Yet again apologies for the bad photos, I'm definitely not a photographer and Tom is too busy working on the house to help me (and that's not a dig, right now I'd far rather be helping him out there than crafting)!

A selection of gift tags (or Christmas Tree decorations if preferred):

All of the tags were created using items from the Stampin' Up Festival of Tree bundle (a set of stamps and the corresponding punch). The tag shape itself was punched using an old Creative Memories tag punch borrowed from my mum (it even punches the whole centrally in the tag as a secondary function!).


A lot of 3D foam was used in the making of these 2 layer tags (and they proved to be the most popular item by far on my stall!)

And the price labels which match the tags:


Gift Boxes:


My stall:


The fayre was very poorly advertised and I didn't sell much but I still enjoyed the making, a note to self for next year would be to ensure that any fayre I choose to do is well advertised so I don't waste my time! (Time I could have spent trying to get the house finished so we can be in by Christmas, only 3 weekends left!) Thank you for sticking with me through this long, perhaps slightly rambly blog post, at least it included lots of pictures!

- Rebecca

31 October 2014

Good Luck Card

October has left me rather glum and in neither the blogging or crafting frame of mind, but I do have a quick good luck card to share with you all today. One of Tom's colleagues got married in June and his wife has just moved over from India to be with him, she is starting a new job on Monday and I wanted to make a Good Luck card (and also to thank her for the best Indian dinner I've ever tasted when we were invited over for dinner the weekend before last, I must get the recipes!)


I started off with the good luck sentiment and a blank curved rectangle. The main block of colour is created by masking off the outer surrounds of the card and using the fantastic Inkylicious ink dusters with Barn Door and Spiced Marmalade Distress Inks and So Saffrom by Stampin' Up, I blended these together until I had a look I was semi-happy with (still not quite convinced but then I quite often lack confidence in my cards). I was surprised to find that I have no stamps expressing the Good Luck sentiment so I turned to my trusty alphabet stamps, as I only had one lower case O I stamped Go d Luck (measuring my spacing) and then added the second O. I ummed and ahhed for ages about what to put on my background before settling for the Lavinia Alium stamps that I have used many times and still have on loan from my mum, I think I may have to buy my own set! I inked around the edges in Barn Door and smudged as I went (to cover up a smudge I had made whilst blending!).


I then glittered the seed heads of the alium with orange and red glitter to co-ordinate with the rest of the card.


I decided, as I usually do that the envelope looked plain and boring so I used the same stamps and glitter to add some interest :)


The finished project, I hope you like it!

Thanks for reading, I'm hoping November will be a better month crafting wise for me, it better be as I have a Christmas fayre to prepare for, and I also have a new Big Shot and Silhouette Portrait to play with, come back soon to see my projects,

- Rebecca 

23 October 2014

Oakhouse Studio Mini One Stamp Event (12th October 2014)

First and foremost apologies for the lack of blog posts this month, October seems to have well and truly got the better of me, both crafting and blogging wise! I did manage to join in with the Oakhouse Studio mini one stamp event, though didn't manage to bring as many of my ideas to fruition as I would have liked to (as well as finishing them after the event!) :( The idea of One stamp is to spend the whole day (for a mini event) or the whole weekend (for the main event) using a single stamp (chosen beforehand by Lynnda) in as many ways as possible to create a variety of craft projects. The October event used the Christmas corner by Oakhouse Studio (comes in large and small, I only have the large at present but will be buying the small at some point as I have lots of ideas for combining the two).

I decided that with my first projects I did not want to stick with the traditional red and green of Christmas (as you can see below). The corner was stamped and heat embossed (in white) on each corner of my 5 inch square cards). I used a variety of mediums to colour the flowers and leaves (deciding to leave the berries white) including the gorgeously (why does my computer accept this as a word?! I was expecting a wiggly red line!) glittery Wink of Stella pens that haven't had enough use this year and distress inks. Again I couldn't let the envelopes go un-decorated! The Christmas sentiment is stamped in Versamark before embossing in OHS silver pearl.


For my next project I wasn't exactly sure what I was going to do, so I played and the results panned out over several days. I started by stamping in Versamark and heat embossing in the Oakhouse Studio gold embossing powder (I love the big pots, very useful!) until I had covered the whole page (don't ask why, I had no intentions at the time, my mind drew a complete blank!) Next I coloured them in - Barn Door distress ink for the flowers, Pine Needles distress ink for the holly leaves and Shabby Shutters distress ink for the other leaves.


My Finished Card - took a long time to decide on!

Thanks for reading, my mind isn't quite in the blogging frame of mind at the minute,

- Rebecca

12 October 2014

Another little owl...

I haven't blogged for a few days so I thought I would just stop by with a very quick post :) Here is another little owl I made, this time for a friend's brother and sister in law to welcome their first child Rory :) I've decided this owl is definitely an Oliver!


Ollie the Owl

I'm also in the process of making a small mini book for them too so that may feature on the blog soon,

Thanks for stopping by,

- Rebecca

8 October 2014

Thank You Canvas

Please note that this was actually primarily written last week (and I continued to write in that mode to finish it) and I ran out of time to complete and post before I left, so all actually refers to the weekend just gone, apologies!

Tom's Mormor (Swedish for Mum's Mum, I love that their language shows this distinction, it is so much more easy than our rather more worder Mum's Mum or Grandma Jean (My Mum's mum) and then explaining who that is!) has been ill and in the hospital :( This weekend Tom and I are flying out to Sweden with his mum to visit her. If you read my blog regularly you may remember the Thinking of You card I made for her a weeks ago (the one with the frog - Grodan in Swedish (not sure of spelling) but Grodan is also used as a term of affection, often by Grandparents when referring to their grandchildren, hence my use of the frog). Anyway once again I am rambling, as she is currently unable to walk she managed to persuade the nurse to take the 20 minute walk to reception to collect her post from England! She was very excited to receive post from her family in England and liked the hand made card very much indeed, so much so she has asked me to make something as a Thank You present for the staff on her ward. I decided that they must receive lots of cards and that a card wouldn't stand out enough, hence choosing to make a canvas.

Tom likes my ink blended background cards at the moment, in particular the one I made for the Lavinia 'Add Some Glitter' challenge in August, so asked that I incorporated this style of design on my canvas. As it turns out ink blending is a lot harder on canvas!!! I found that you needed a lot more ink to provide the intensity of colour that I was after, even using the foams rather than the brushes (I like the foams when I want a deeper colour and for a paler colour I would choose the inkylicious brushes every time)!


Choosing my colours


In progress


With the masking strips removed (Time to let the ink dry for an hour or two!)

The ink blending for this canvas used the same technique as my previous ink blending cards - tearing strips of paper (I had to use a 12 by 12 piece of paper for this canvas as it was quite large) using my Creative Memories tearing tool, laying them on my canvas at the appropriate height (leaving a small amount of white space at the top and a larger area at the bottom for the next part of my idea), I then blended all of my colours from dark to light (three shades of red went into the red area alone to increase vibrancy - Barn Door Distress Ink, Real Red Stampin' Up and Lipstick Red Colourbox Chalk Ink - moving on to Spiced Marmalade Distress Ink, Wild Honey Distress Ink and Daffodil Delight by Stampin' Up). This took over an hour to build up layers of colour and then blend them together so that the seams between the colours did not show, I'm quite pleased with the result, I think the colours blended perfectly together (I used the other edge of my foam, not the one I had inked, to pull the colours into one another without using more ink, a technique I have found to work quite well). The canvas texture shines through the ink to add more intrigue to the piece :)


Finished canvas (which was then added to a black frame, forgot to take a picture though...DOH!)

The Alium are two stamp sets, the smaller by Lavinia and the larger, a separate stem with different options for heads, by Inkylicious, the Thank you is also by Inkylicious (I used this project as an excuse to make a slightly large (6 stamp sets + new ink dusters + a stencil) order from them!! The seed heads were glittered in red, orange and gold. I'm trying really hard to ignore the slight smudging on the right hand stem and on the Thank you (a result of rushing to finish late at night before flying too early in the morning) but being slightly too OCD I am not happy and wanted to throw the whole project in the bin!! I'm glad I didn't as Tom's Mormor was really pleased with it, though I still didn't want to put my name to it!

Thanks for reading,

- Rebecca